
Hey dolls! Today, I wanted to share with you something that has been really exciting for me. It’s all about personalized whitening. Read on if you want to learn more.
I have always considered myself to have pretty white teeth. However, if you’ve been following along you probably already know that I definitely wear a lot of dark colored, nude or orange toned lipsticks. All of these can make my teeth appear more yellow than I would like. The best thing about the new solution I’ve found is that I’m not getting super sensitive teeth when I whiten with my new trays! I know you’re probably thinking, “Why get fitted trays instead of using white strips?” The whitening trays are really good at getting all of your teeth whitened and not bleaching out your gums. My main problem with whitestrips is that my gums CANNOT stand the pain! Fitted trays are easy to keep the whitening gel right on your teeth instead of getting it all over your gums.
In case you missed my subtle ques, I’m talking about Smile Brilliant. It’s been a wonderful experience getting to whiten my teeth with personalized trays. It’s actually really simple. You don’t have to go into the dentist at all to get fitted trays. Follow along below to see what we did to get fitted trays in just a little over a week and white teeth over the last few months!
Step 1:

Pull the trigger. Order your kit for your very own professional teeth whitening at home!
Step 2:
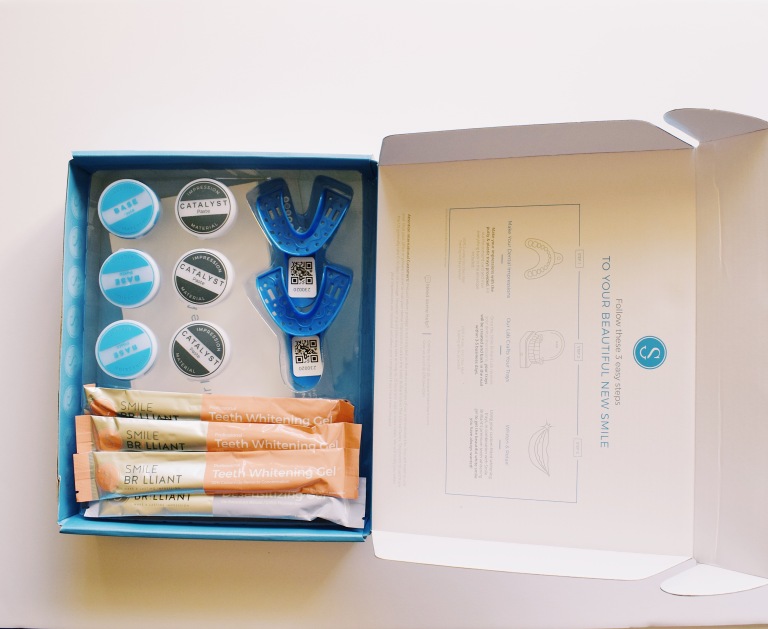

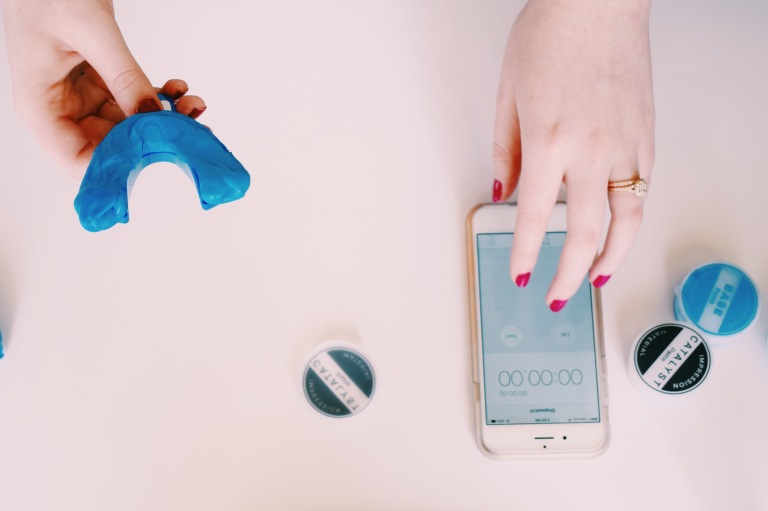
Create your personalized impressions. This is the most important step. Follow the photos to see exactly how we did it. For more detailed instructions, learn how to create custom fitted whitening trays with Smile Brilliant. Smile Brilliant gives you a few different pots of impression gels to make sure you get the trays fitted just right!
Step 3:
Send your impressions back in the prepaid envelope and wait a week or so for your new whitening trays to return!

Step 4:
After receiving your fitted trays and before using them, brush your teeth with water only. It’s important to create a clean surface that doesn’t break down the whitening gel. Toothpaste can make the gel not as effective. Use a small ribbon of whitening gel only. I only use this on the front 7 to 8 impressions of my teeth. (I’ve learned that if I do it a ton on my molars that my gums get a little sensitive in the back of my mouth). Leave on the whitening gel anywhere from 45 minutes ( or more time) to see whitening results. (If you get sensitive gums like I did, try rubbing coconut oil on them before whitening!)
Step 5:
Brush your teeth with toothpaste. This will remove the whitening gel and give your teeth a rest! Take a peek at those pearly whites and be amazed! 😉
 Photo by: Janos Richter
Step 5:
 Sensitive teeth stop here! My favorite part of this whitening system is the de-sensitizing gel. Whitening my sensitive teeth has always been a big fear. I don’t want to drink a cold drink and feel my teeth hurting! The magic de-sensitizing gel restores your teeth so they don’t become sensitive from whitening. I honestly haven’t struggled with tooth sensitivity with this whitening kit. I typically sleep in my de-sensitizing gel. This has worked best for me because I’m obviously not eating or drink while sleeping! Apply about the same amount of de-sensitizing gel as you did the whitening. (I use about 1/4 of the syringe each time! A little goes a long way)
Step 6:
Smile brilliantly! Haha, was that too cheese-y? Honestly, I have been super impressed with our results. It always makes my bright lipstick days better because I feel more confident.
We have been impressed with our results and want one of you to feel more confident in your smile, too! If you need more convincing, check out this at home teeth whitening review.
xoxo,
Cortney

So cool, Cortney! I had no idea… Thanks for the tip.
LikeLike
I might have to try these! 🙂
LikeLike